Showing posts with label diy. Show all posts

Tuesday, August 5, 2014

Berry Picking in the Sunshine.

This was a good day.

It didn't start out that way. 

It started out as many of the most frustrating days do. I had a giant list of things that "needed" to be done, and an overtired toddler who refused any sort of nap time.

I always feel so robbed at this point. Anger rises in me as I realize I will not have the productive day that I had planned, and instead I will spend the day dealing with meltdowns. Mine, or my toddlers. Could go either way.


There is a point on these days where I will still try to get everything done out of habit. Doomed from the start, but somehow I just think " today we will make it work". 

I just can't stop myself, and it ends up pretty catastrophically, at least for me. 

This day, I realized early on, the plans in my head were just not going to happen. My little guy was so grumpy.

 So we went for a drive. That calms us all down sometimes.

We ended up at a Blueberry Farm I had not known about before.

Two of my dudes favorite things. Being outside, and blueberries.

I pulled in.

Instead of fighting it, we changed plans. We chose to make the day a sweet, happy memory instead of a struggle.

 We mostly ran around exploring the acres and acres of blueberry bush aisles, stopping to pick a bit. Seeking shade. Taking photos. A little boy may have been, um,  "sampling" some blueberries out of his bucket.

We only picked about a pint. They had to live in my daughter's bucket to stay safe.

At the checkout the guy just slid the pint back across the counter and said "You can just have it, I think the birds and deer eat more than that in an hour". Yes, free blueberries & a fantastic day in the sunshine. 

Thankful that every day is a fresh new start, and that being open to a change of plans often leads to a better situation.

I also noticed my sweet little girl stepping in where she could help. Without being asked. She is getting so much more aware of the needs of others and I am so thankful I get to be her mom.

Though our blueberries were free this day, I would highly recommend finding a place to pick your own berries. They were only $1.75 per pound + kids LOVE this sort of activity. Win/ win.

Freeze what you won't use within 3 days to prevent waste. Frozen blueberries in greek yogurt is just like dessert!


Friday, February 28, 2014

Banana Pancakes


Happy Friday!

It is suppose to be 57° and sunny here today! That's practically a Summer day!
To make it even better, my husband has the day off. We will be heading out to one of our favorite Springtime hiking spots as soon as my eldest gets out of school this afternoon. 
I rose especially early this morning, for no particular reason at all. It is a strange phenomenon that I have so much more energy if I rise before the sun, even with inadequate sleep.
So I found myself with a quiet house, unable to go back to sleep. I did some yoga, and wrote a bit. Then I made these banana pancakes from scratch before I woke my girl for school.

Banana Pancakes:
1 1/2 Cup All purpose flour
3 1/2 Tsp baking powder
1 Tsp salt
1Tbsp brown sugar
1/2 Tsp cinammon
1 1/4 Cup whole organic milk
3 Tbsp egg whites or 1 egg
3 Tbsp melted butter
1-2 over ripe bananas

Pre-heat griddle or pan. Mix all dry ingredients together. Make a well in the center and add in milk, egg, bananas, and butter. Mix until just blended. Lumps are ok.

Lightly spray griddle with oil, spoon batter onto hot griddle. Cook until done in the center, flipping halfway through. (I just wait until the bubbles are almost done on one side then flip).


And,  I don't make banana pancakes without singing this song at least once.


Have a happy, relaxing weekend!!!


Thursday, February 13, 2014

Dust Allergy Life Hack: Keep Clean Linens Allergy-Free

Soooo, raise your hands if you have a dust mite allergy.

I do!

I am able to forgo daily allergy meds by limiting my exposure.

I do this mostly by cleaning, using allergy covers on all of my bedding, and washing all of that in HOT water every week.

I then have to replace my allergy covers every year, which I try to remember to do in January.

I bought allergy covers for my pillows for 2/$16.00 online last month, and that was a huge mistake. They were not breathable whatsoever, so air was trapped inside. It was like sleeping on an unopened bag of potato chips or something. It was super uncomfortable. 
The only work-around I tried was unzipping them a tiny bit to help the air escape but that basically renders them useless since then the allergens also have an escape route. Another fun side effect of my work-around was the whoopie cushion noise that was produced as you rolled your head around on it. You go ahead and say "It wasn't me! It was my pillow!" to whomever you share your bed with and see how that goes down.

 I ended up buying cheaper ones for $4.00 each. They feel like a dream compared to the more expensive ones.

Since I had already opened and washed the ones I bought online, I didn't feel comfortable returning them and getting my $16.00 back. I immediately thought of my second allergy dilemma- linen storage.

Our house has no linen closet. None, whatsoever.

Currently our linens live in a shelf tower inside my closet. This skeeves me out. 

I just know those little dust mite jerks are finding their way to them. In fact I put the sheets and pillowcases away in the tower, and will re-wash them before I put them on my bed. If I don't then I can't sleep very good because I am worried my eyeballs will be red and swollen and I will look like a troll in the morning. 

I realize this is neurotic, and probably wasteful.

So I made these clever linen storage bags out of my allergy covers.

 With a stencil and a laundry pen that I already had on hand. 

Pretty allergy protection for my bedding, and no wasting of money. 2 problems- SOLVED. Good job, me!

+++ Bonus points;  my water and electricity bill will be less, and my linens will not wear out as quickly.

Waste not, Want not!


I used:
Dust allergy pillowcase cover
Duck Tape (from a different project)
This pretty stencil (from a different project)
Rub-A-Dub Laundry marking pen. (Already had it)


I taped my stencil down. I did not iron my pillowcase beforehand. 


Then I just traced inside the stencil, took it off and added some freehand shading to the bird.

So pretty, so simple. The whole project took less than 20 minutes from start to finish.

Here it is all zipped up and folded. Ready to go on the shelf, and keep the dust out!


This would also be a lovely way to keep your guest linens clean and fresh. One pillowcase can easily hold a couple of blankets or a duvet as well.

Have other ways you might use this idea? Let me know in comments?


Monday, February 10, 2014

4 Ingredient Gluten-Free Peanut Butter Cookies


Two recipes in one!

This is one of those old favorite frugal recipes I am teaching my daughter for her college years. I don't care if she is only 8. Sometimes you need a cookie, and when you look around in your kitchen, all you can find is:


1 cup peanut butter (creamy or chunky. I won't judge)
1 cup sugar (brown, or white)
1 egg or 3 tbsp of egg whites if you have egg sensitivities like me.
Splash of vanilla.

Preheat oven to 375°. Spoon cookie dough into 1" balls and put on baking sheet. This is a sticky process and I like to get a spoonful, then scrape it off the spoon with my hand then onto the cookie sheet.


For the finish, you can choose to either flatten with the bottom of a glass. (If the glass sticks, just dip in sugar) and follow up with a cute little cookie cutter impression.

or...

You can do criss cross pattern with a fork,the same sugar trick applies if your fork is sticking.  This one reminds me of being little. Our sweet little old neighbor lady would bake us peanut butter cookies, shove them in a ziploc bag, and hand them to us as we whizzed by on our roller skates. 

Bake at 375° for 8-10 minutes. Let cool and remove from baking sheet. Consume with reckless abandon. These are around 66 calories each. Even less if you are using egg whites.

Easiest homemade cookies ever.

Go make some!

Have any super easy, fuss free treats like this one? I'd love to see them.

(p.s. Yes. I realize that I used more parentheses than were entirely necessary on this post.)

Enjoy!

Friday, February 7, 2014

Super Simple: Jello Playdough or Why I Will Not Be Buying Playdoh Again


Oh Man, you guys. This is so easy. I have to share. I wish I had known about this sooner.

If you have little kids, you probably have some playdoh in the house, (maybe in the carpet?). It is great for their little motor skills, and the dexterity of their little hands + their creativity and sense of accomplishment.

My son loves playdoh. It is the most frequent activity he requests. In fact I can't remember a day without playdoh in it somewhere. He loves it that much.

One day we sat down to play with his playdoh, and it was so dried out it was unusable. Gross, crumbly and no longer pliable. So I started researching online. I found a few Jello Playdough recipes and decided I had to try it.

Bulleted benefits of Jello Playdough:
  • Jello Playdough is so easy to put together. It comes together in about 10 minutes. Less than the time it takes to go to the store to get more playdoh.
  • One batch of Jello Playdough is approximately 3 1/2 cans of storebought playdoh.
  • It doesn't dry out as quickly as it's commercial counterpart. (planned obsolescence?)
  • It smells amazing. Whatever flavor your Jello is will be the scent of the Jello Playdough!
  • It is a fun activity for your kids to help make. They like to measure and pour.
  • It feels like a science experiment when the dough forms a ball during the cooking process.
  • Jello Playdoh is more pliable. It just feels "softer and smoother:"
  • Its way cheaper. 1 Jello packet costs about .69 and makes 3x what a .79- $1.50 can does. The rest of the items are already pantry staples. I could calculate what they all cost as well, but that is a waste of time since I will come to the same conclusion. 
  • Warm Jello Playdough feels amazing. 
  • Super bright colors

By now I know you are pumped, right? I tried a few different recipes, and adjusted them. Many Jello Playdough recipes call for cream of tartar, but I have no idea what it does. I made it both ways and saw no difference.

Here is the recipe we have been making the past 2 weeks:

1 Cup Flour
1 Cup Water
1/4 Cup Salt
2 TBSP  coconut oil
1 Jello packet

Mix ingredients together and cook over medium heat. Stir constantly until dough forms a ball. Turn out on a floured surface and let it cool. Knead a bit, then play.

the dough ball


It really is that easy. 


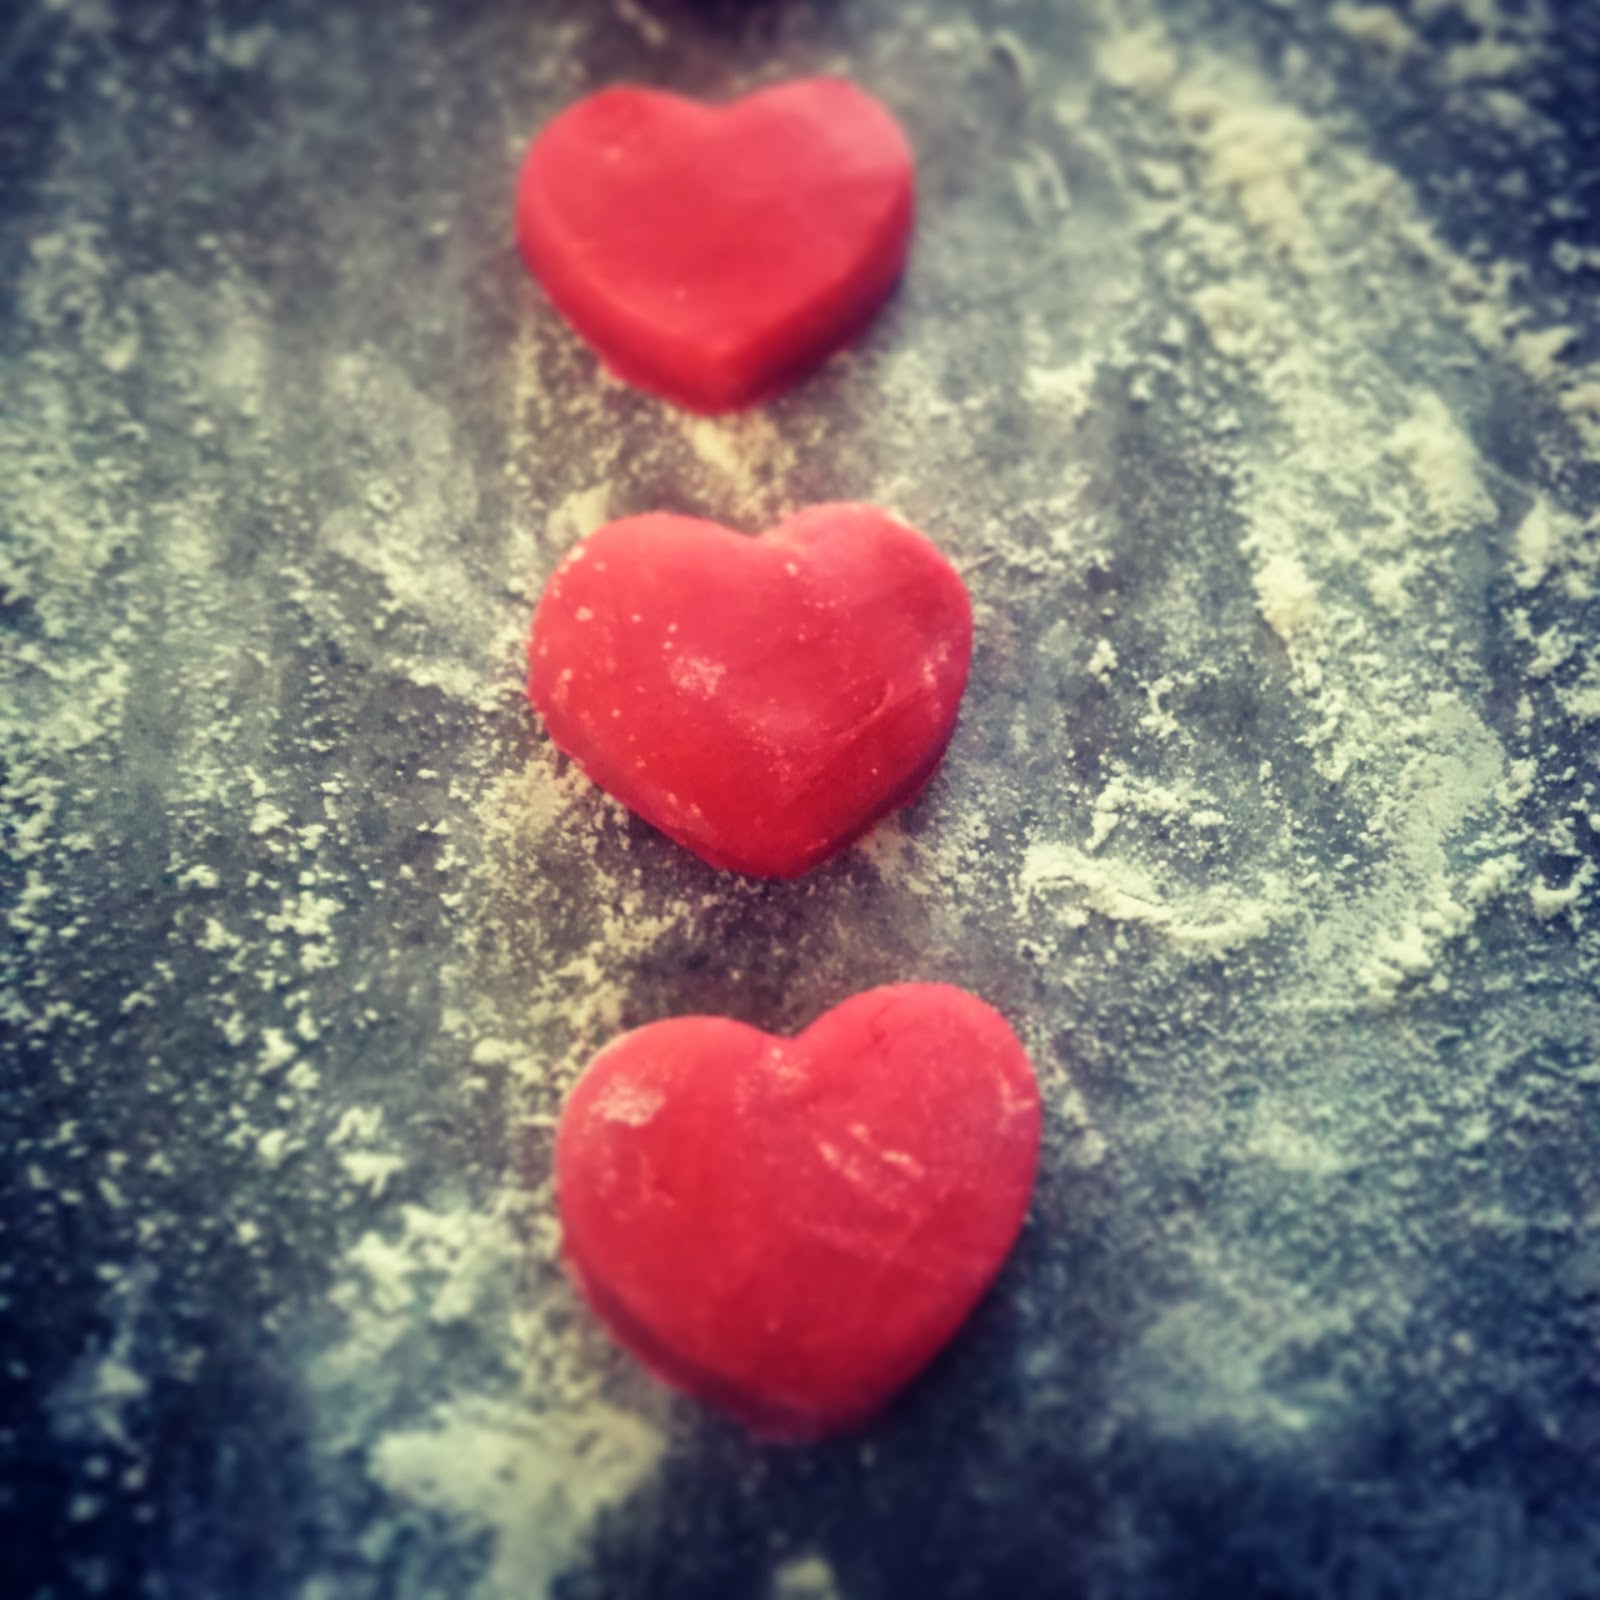
My little guy cut out a bunch of hearts for me. 


Tuesday, January 28, 2014

Using What I have. Making Stuff I Want.


Next weekend I have scheduled some time to sort through our closets and dressers. This act is a prelude to Spring cleaning. This is not a task I necessarily like, but I feel like life is much easier after decluttering, and that is usually motivation enough for me. 

This decluttering results in a giant pile of stuff. Some will be sold, most will be donated, and some will be upcycled, salvaged, repurposed, DIY'd, and live happily again as something completely different.

 I am pretty creative and I can see multiple uses for most objects, so this process is trickier than it seems.The pile of things I just "decluttered" can very easily become another pile of "crap to make or do later".

I have to be ruthless during the decluttering and reorganizing process.


But let me explain- using things I already have is one of my favorite things. It kind of feels like free in my flawed logic.


I have limited myself to 5 upcycling ideas because I feel pretty confident I can get these done in a reasonable time frame. There a few things we legitimately need, and a few that I just legitimately want. I will be looking through our cast offs with these things in mind, and getting rid of the rest that afternoon.


Without further ado, my 5 upcycling projects:

1.Use your old clothes for rags!
 I cant believe more people my age dont do this .Cut up unserviceable clothes to use as household rags for everything. Cleaning, wiping dog paws, keep a set to use instead of paper towels, even cut some to use on your swiffer (wet, or dry). When you are done using them, they go right in The wash. We only use paper towels when company is over. No wasted trees, or money.

2. Before tossing any clothing- remove zippers and buttons and any usable cloth. They can be used for projects later. My grandma taught me this. She had a super impressive button jar. I kinda wish I still had it.

3. Make a sweater bed for a small pet. Too cute. This will be made as a gift for my neighbor. She has two adorable little dogs, and mentioned she wanted one of these.

 4. Make lace boot "socks" out of sweater sleeves- (more like leg warmers, but so comfy and cute). I ordered some last year. I was so excited when they finally came and then as I was opening up the package the buttons fell off of one. I was so mad! I will just make my own. I already have the lace, buttons,and a specific sweater in mind.
 source

Image 1


 3. Make a sweater throw pillow

Cable Knit Decorative Pillow 
 I love cable knit ones like these I found for $29.00.  Pfffft- $30  for a pillow? That's almost a full tank of gas for a weekend getaway! I would much prefer the experience of an adventure more than a pillow I will probably only use for a short time anyway. A few stitches, a cast off sweater, and a throw pillow I already own? That is totally doable!

4. Patch some sweaters together to make a cozy couch blanket. I don't think I have enough sweaters (or time, or patience) for a big blanket, but I do for a small couch sized one. This will go with the throw pillow into the play room.
source


5.Repurpose an old pair of pants or a skirt into draft dodgers. 


We need one of these so bad! I plan to use a piece of pipe insulation that I already have, but you can fill them with just about anything.


 + Bonus points-we will be saving money on our energy bill! Tutorial for the one pictured here.


I'm looking forward to the end of this week, and the end of this month.

I can't wait to share our progress, with our budget and all of the other "goals" I set for myself this year!


Have you started your spring cleaning yet? What do you start with first?


Thursday, January 23, 2014

8 Ways to Use Christmas Discounts for Valentines Day


I love a good bargain, so naturally I am a clearance shopper. January is one of the very best times for people like me. Practically everything is on clearance!

During the month of January the most deeply discounted items are the leftover Christmas goods.

 Most people remember to stock up on clearance items for the following Christmas. I always, always buy new wrapping paper, and a few new things for the following Christmas. 

This is nothing new for us budget savvy folk.

For many, January is so full of resolutions, and purging, and organizing that they forget Valentine's Day exists until around February 1st. 

There are so many great deals that will make your  February self so thankful for your foresight. 

Many Christmas items can easily become Valentine's Day items, with a little imagination.


Yep, Valentine's Day in the Christmas section.

Too soon?

My February savings account doesn't think so!

Here is a list of things to buy right now at a huge discount to make your Valentine's day beautiful in both aesthetics and budget-friendliness.


1. Red and White Tissue paper.
 It's pretty affordable to begin with but I have come away with the big fancy packs for about $0.19 before. The possibilities are endless!


source


2. Red Dresses- its usually date night, after all! Show off your fitness resolution successes in a brand new red party dress.


3. Red sweaters and Cardigans. You can wear these pretty much year round as well.


4. Red Tights! to wear as is or for projects. These 2 are on my list.

18 Adorable DIY Clothes and Accessories for Valentine’s Day


5. Twinkle lights. Buy them now for like $1.00 per box and twinkle light your place up for a romantic evening.


P1100994
source


6. Red ribbon. Apply where needed! Also good for wrapping birthday presents year round.


7. Red Dinnerware. If you are staying in this Valentines day, or if you make Valentine's day treats, some red dinnerware makes it all fancy.


8. Red and white candles. Candlelight is always welcome on romantic occasions. 


I've already gotten the twinkle lights and the tissue paper, and  will be making a few projects to decorate this place up for Valentine's day. The best thing about these projects? They are less than $1.00 each to make now that I have done my clearance shopping.

Creativity is important when you are on a budget. A budget does not mean you shouldn't have a good time, celebrate, give gifts, or decorate for holidays. It just means you have to be a bit more creative. From that necessity the very best ideas are borne.

Have you noticed any other Christmas items that could easily become Valentine's Day items? Share your ideas?


Thursday, January 9, 2014

Sometimes You Just Have To Have a Setback

I feel like I've read this story before.

The heroine starts out on an epic quest, determined and focused on her goal. Nothing can stop her (you may even wish to add a cape to this heroine if it helps) from reaching it.

Then inevitably her best laid plans are thwarted.

At this point, said heroine, always finds her feet and ultimately defeats that which has sought to destroy her. Right?

Have you read this story too?

What I'm really trying to say is, I am experiencing quite a setback.

Just in the 1st week of 2014 I managed to put $375 into our savings. The next night, I discovered a very, very bad home repair issue. It is so bad that we will have to tear part of the floor in the kitchen up! There is costly home repair and then there is costlyhomerepair(!).

Despite being a bit discouraged, I am so thankful for these reasons:

1. I never liked that kitchen anyway. It functioned well, so I didn't mess with it too much. This is obviously a sign from the Universe telling me I have put up with it long enough.
2. This home will eventually be a rental home, a kitchen update will bring in more rent. Eventually. It is something that we can tick off the list of things we need to do to get this house rental ready.
3. I have been working at the hospital quite a lot this month, which is extra income that will hopefully help offset this new expense. Sure we might not get too far ahead, but we are also probably not going to move backwards either. Grateful that the opportunity came up.
4. Its super fun to play around designing new spaces. This is excellent motivation.

I will be having contractors come to look at it on Friday. At which time I may have an actual freak-out.

I'll get back to you.